As bloggers, we publish hundreds of blog posts each year. Every blogger has some set of tasks that he or she performs before and after publishing a blog post.
Do you follow some checklist? Don’t worry if you don’t as we are here to solve the same problem.
Today we are going to tell you as many as ten things you should perform each time before you publish a new blog post. Some of the points below may be very obvious, but you should perform it strategically to get the best results.
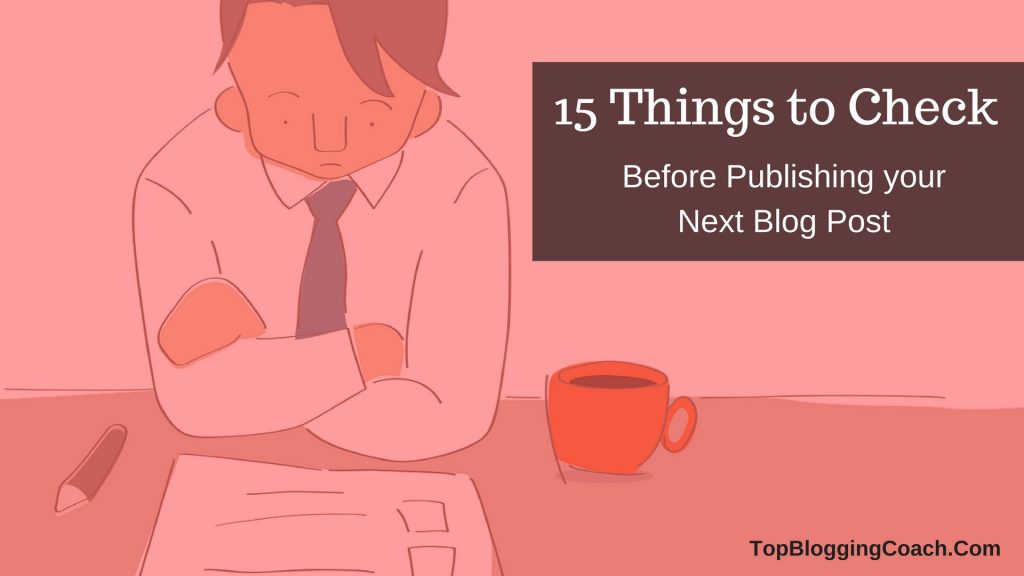
10 Things to Check Before Publishing Your Next Blog Post

Write Good Post Headline
Headlines are the foremost thing bloggers write before starting each blog post. It somewhat gives readers an idea as to what the post is all about.
Even before people read your blog post, the first thing they see is the headline. It doesn’t matter if your content is useful to them or lengthy if the headline isn’t good. So the click-through rate all depends on your headline.
Most new bloggers spend less than a minute in framing the headline. Little do they know that all the hours dedicated to the content can be a waste just because of a bad headline.
The blogging sphere is becoming very competitive and if you want to shine, you need to be different at these small things which many bloggers tend to ignore.
Why do you think people are investing in tools which are as expensive as 30$ a month just to frame headlines. It is because they care about the conversion rate.
You may not be a big business to invest in such tools, but still, you can spend some quality time framing your headline. Your mind is more powerful than any tool. Isn’t it?
I won’t be able to go into detail on how to frame a perfect headline, but I have some quick tips for you below.
- Make sure your headline is long ( about 9-11 words)
- Include some numbers. It converts better.
- Add some power words in your headline
- Try to ask a question in your headline
- Try to solve a problem
I hope the above tips helps. To know more about headlines check this article on Headlines from BlogRags.
A Cool Featured Image
In case you don’t know what a featured image is, it is the image you often see when you share a blog post. If you don’t set a featured image in any of your blog posts, then a random image is set as a featured image.
It is highly recommended that you set a custom featured image for every blog post. It is very similar to the image you see beside each YouTube video.

A featured image is the second thing people see after the headline. It may not be as important as a headline but you shouldn’t ignore it.
So how do you make a featured image even if you are no graphic designer or a professional at Photoshop?
Some websites provide you with templates are –
I use Photoshop for my featured image, but Canva will work just fine.
So if you want to make a perfect blog post each time you should make a cool featured image too.
You will love to read – Top 5 Most Essential Things Your Articles Must Contain For A Better Exposure
Break Your Post in Smaller Paragraphs
Nobody likes to read a huge chunk of text in a blog post. Take this blog post for example. Do you see a paragraph with more than three lines? No, right.
You might complain- Hey Tuhin, I write very long posts so it is obvious to end up writing a long paragraph.
You may be right but how are the big blogs able to restrict themselves. Take the example of blogs like Copyblogger and Backlinko. How they end up writing posts as long as 5000 words and are still able to maintain small paragraphs.
You might say they are professionals. But you can also do that easily.
It will surely take some time in getting used to it but you will ultimately be able to train yourself in writing blog posts with small paragraphs. You can easily see a significant improvement in your on-page time for your blog after doing so.
Make Use of Sub headings
Remember your primary school books and how the chapters would be divided into many headlines. Do you know the reason?

It is because it is easy to find things when they are organized.
Google loves detailed content, and you might be writing long posts which are totally fine. But consider a situation when a reader comes to read about a specific part of your guide or tutorial. What should he do? Should he read the whole post and figure out the part which he was looking for? Not cool, right.
Another advantage of breaking your post into many subheads is that it will help your readers understand the content better. If they read the content part by part, it will be more fruitful than reading posts having none of them.
Even Google takes up subheads and displays in some SERP results. This will double your conversion rate.
Write for your audience and not for Google. Trust me it will help you in the long run.
What is proofreading?
In simple words, Proofreading is the process where people read written content once or twice and try to fix mistakes including grammatical errors.
Are you the one who ignores reading his content after writing it? If you are a tiny bit serious about blogging, then I request you to proofread your content at least once. You can also send it your friend and tell him/her to tell you where the post needs fixes.
I use a popular grammar checker tool, Grammarly. This is one of the best tools to proofread your content and the best part, it is free. I am not a native English speaker hence this tool is a lifesaver.
But you can’t rely on this tool for everything. You need to at least proofread the content once yourself because no tool can beat a human mind at least in proofreading. Right:).
This will indirectly increase your reader engagement. Trust me one mistake is sufficient to annoy a reader when he tries to sincerely read your post.
Optimize Your Images
Every blogger adds images to their blog post. But do you optimize it?
Most bloggers add images to their posts but don’t care about optimizing it. So why should you care about optimizing?

Of the 200+ Google Ranking Factors, the site loading time is one of the crucial ones. You may host your blog on a fast hosting server, but that’s not enough. The fast hosting servers are useless if you don’t optimize your images.
Must Read: Best Web Hosting Deals & Offers
Images can account for more than half of your web page’s total size.
A study shows that 40% of internet users clicks the back button if a website doesn’t load under three seconds. Three seconds might seem to be small, but if you are on a mobile connection, a second can seem like forever.

So how can you optimize your images?
There are various methods and tools which you can use to optimize your images. I will mention a few to help you with your image optimisation.
- Image Resizing -Try not to add a full-size image. Whenever you upload an image, WordPress will automatically resize it into three smaller sizes. Choose an optimum size rather than always using the original size. You can try the Imsanity plugin to help you resize new and old images uploaded to your blog post.
- Online Image Compression – There are many image compression tool both online and offline. I use TinyPNG plugin to optimise images. You can optimise up to 20 images, max 5 Mb each at once. The plugin provides you with 500 free images per month. You can even use the online tool.
- Offline Image Compression – When it comes to an offline tool I love Photoshop. If you have used Photoshop at least once before you must know that whenever you try to save an image, it provides you with a slider which adjusts the image quality. Some other honourable mentions go to JPEGmini and ImageAlpha.
Interlink Your Posts
Many bloggers ignore interlinking. They think it is useless. Trust me I’ve been blogging for about three years now, and I never forget to interlink my posts.
You should not only link your old posts but you should also edit your old posts and link new ones. This way your newer articles will get the necessary boost.
Interlinking also helps readers engaged with your blog. It also helps to increase your traffic and conversions as well.
It will help each piece of content on your blog be it old or new users to your audience.
You will love to read – Get Inspiration From These 5 Bloggers and Their Income Sources
Add alt-Tag to Your Images
Have you heard about Image SEO? You may know how to optimise your post for SEO but you may be totally unaware of Image SEO which is equally crucial for you.

People not only search for web results but a huge chunk of users search for images as well. There are cases where an image can be a greater source of traffic.
Why care about Image SEO?
Where most bloggers concentrate only on optimising their posts, the ranking of images, becomes easier. You can easily rank for an image and drive traffic as much traffic to a post as a web result would.
Image SEO is easy. Whenever you upload images to your blog try to add an alt tag to it. Don’t confuse it with the Image title.
The term “alt tag” is a commonly used abbreviation of what’s an alt attribute on an image tag. It essentially describes your image. Google can’t read your images so the alt tag helps it to know what the image is all about.
This way when someone searches for that query, images can pop up in the results to help you get some extra free traffic.
Make Your Post SEO Friendly
SEO or Search Engine optimisation is an essential part of blogging and cannot be ignored. With the right SEO, you can drive a lot of highly targetted traffic which will help you to grow your blog as well. Read more about how to start your blog and optimize the blog with best SEO practices.
Why do you think online businesses shell out thousands of dollars monthly on SEO? This is because they know organic traffic has the best conversion rate which they actually need.
If you are on WordPress, you need to download the Yoast plugin. I highly recommend the plugin as it the best free SEO plugin you can have for your blog. This plugin makes it easy to build excellent SEO.
If you want to know more about On-Page SEO you can check On Page SEO guide at Top Blogging Coach.
Add a Question at The End to Encourage Comments and Discussion
This is the best way to increase user engagement and especially comments. It is always awesome to read people’s perspective to some questions and because each person has his own point of view, you will love to learn from their answers.

Try to add relevant questions at the end of the post and ask your readers to answer them below in the comment section.
For example, if I had to ask a question at the end of this post then I would add “Tell me the set of tasks you perform each time before you publish a blog post. Leave them in the comments section below. I will love to add them to my personal list.”
Conclusion about 10 Things to Check Before Publishing your Next Blog Post
There you have it all. All these little things are what matters in every blog post, you can’t ignore them and expect your posts to get any attention therefore if you’ve been neglecting them before, you need to start prioritizing them from today to ensure your posts reaches its full potential always.
I hope all the points above will come very handy in order to craft a perfect post even when you are not a professional writer or blogger. Tell us some of your own methods you use on a regular basis below in the comment section. I would love to know them.
Now, Tell me some of your own methods you use on a regular basis below in the comment section. I would love to know them.
Thanks and have a great day.
Hi Tuhin,
Indeed, a well detailed post. When it comes to inter-linking of the posts, I try to keep as low as possible when I publish the post for the first time. I add during my subsequent editing.
And adding of cool thumbnail images, using subheading features, proofreading and optimizing images are something that we shouldn’t leave unattended.
BTW, I haven’t tried PicMonkey. I have been using Canva and Photoshop. It sounds cool. I will give a try. Thanks
Beast of a Post . Really great tips mentioned here.
Thanks
Hey Tuhin,
I forgot to mention, Grammarly is a very nice tool for proofreading, and i encourage people to use it.
I hate to read blog posts and see unnecessary and avoidable grammatical errors. So many bloggers are always in a rush to hit the ‘Publish’ button without even proofreading.
Why not take advantage of a free tool that would help you do that if you’re so in a haste?
Thanks for sharing these tips, beginner bloggers as well as expert bloggers would find them useful.
Hello Tuhin,
Reading through this post, i feel a bit smart :-). Why? Bacause i practice all 10 points that you had listed.
I must say its very important to put breaks inbetween your blog posts like you did in your article and like i’m doing in this comment.
I must confess, when i started blogging i never knew this simple secret until i read it somewhere and first tried it out, it makes the writing neater and easier to read especially when the article is very long.
All the points you mentioned here are valid, and many might not realized that this is what on-page SEO is all about.
Have a nice day Tuhin.
Hello Tuhin,
Wonderful points, Your Checklist will surely help bring great result.
I am going to add this checklist in my blogging note.
Thank you for posting
Hello
Tuhin,
Happy to read this informative post. The step by step checklist from our side to check the blog post before publishing is very effective and very easy to understand. This post is very helpful to make a compelling blog post.
If anybody will follow these steps they can easily make a better blog post. I like all these points, especially – a cool featured image and break your post in small paragraphs.
Thanks for sharing with us.
Best wishes,
Praveen verma